Items Included• Left, Right, and Center BumperShellz™
• Pre-Installed 3M Tape • 1 adhesion promoter packet |
Tools Required• Isopropyl Alcohol/clean rags
• Plastic pry/trim tool • 10mm socket/wrench |
Before You Get Started...

Warm surfaces and 3M tape with heat gun if ambient temperature is below 68 degrees F
|

Any Modification or unintended use will void the manufacturers warranty
|

A dry fit of all pieces must be performed before the final installation of the product to ensure fit
|

Products cannot be returned for a full refund after the red backing to the 3M tape is removed
|
ATTENTION: Read and understand all instructions before installing or using this product. Your BumperShellz™ have been specifically designed to fit your truck, so no modifications to your original equipment bumper should be necessary to successfully install your BumperShellz™. If you are uncomfortable installing the BumperShellz™ yourself, please contact a qualified professional. If after reading these instructions you have any further unanswered questions, please check out the FAQ’s on our website, or view a helpful installation video at http://www.ecoological.com/ecoological-video-library.html. You may also call our toll-free number (844-918-3688 EXT.2) for help between 8 am to 5 pm Pacific Time M-F. Any modification or unintended use of this product shall immediately void all manufacturer warranties. The manufacturer disclaims all liability for injuries to persons and property resulting from modifications to, or unintended use of this product.
Preparation
- If your bumper has any significant pre-existing dents, you may want to remove the bumper and try to pound some of these out. Small dings and rust can usually be directly covered by BumperShellz™ if trim lines between plastic trim/step pad and exposed steel bumper are in their original shape. A distorted bumper will negatively affect the fit of your BumperShellz™.
- Your BumperShellz™ are assembled to your bumper by tucking the perimeter flange under the existing plastic trim pieces. It is usually sufficient to lift the edge of the trim in these areas with a non-scratching pry tool and progressively sliding the flange underneath the trim and, unless otherwise specified, should not require removal of the trim.
- Your BumperShellz™ are secured in place with 3M™ Automotive Acrylic Foam Attachment Tape. Optimal temperature for installation is between 20°C (68°F) to 38°C (100°F) and never below 15°C (60°F). If ambient temperature is below 15°C, a hair dryer or heat gun may be used at your discretion to warm the bumper surface. BumperShellz™ should be acclimated at “room temperature” prior to installation.
- Make sure your bumper is clean, dry, and free of debris. Use a cleaner that will remove oil/grease to clean bumper surface, followed by wiping the bonding surface areas of your bumper thoroughly with regular isopropyl rubbing alcohol and a clean lint-free white cotton rag or clean disposable toweling. Do not use shop rags which may have dirt or oily residues. For superior results use 3M brand Prep Solvent 70 or similar products available at many auto stores.
The degree to which you follow these preparation instructions will determine the quality of the installed product. Please follow all instructions and be patient. If you are unsure of any area of the installation after reading these instructions, please call us at 844-918-3688, and we will answer any questions that you have.
Installation
NOTE: We recommend Dry-Fitting all BumperShellz pieces to their specific locations BEFORE removing ANY of the red backing strips from the tape. Make sure all pieces are correct, i.e., you have received all pieces shown above, with or without sensor holes and/or fog lamp openings, color/pattern is correct, and that all are undamaged. There should not be any (or extremely minimal) bumper surface visible once flanges are slid under trim and sensor holes (if present) are centered over sensor trim. Dry Fitting is also good practice for lining up each piece and guiding it into place, visualizing how to do it when the backing strips are removed and the tape is STICKY. Note that once the backing is removed we cannot give full credit for return.
|
1. Remove lower valance panel by extracting all white clips, and removing 2 screws present on each end of the front bumper
2. `Perform a “Dry Fit” of the covers by proceeding to steps 4-13 WITHOUT removing the red backing to the 3M tape. After your dry-fit is complete, return to step 4 and follow the instructions exactly as written.
|

|
|
3. Thoroughly the bumper surface with regular isopropyl rubbing alcohol. Wipe the adhesion promoter on the surfaces of the bumper where the tape will be contacting. Start with the most critical areas such as around the sensors and by the areas of the bumper where the covers overlap each other.
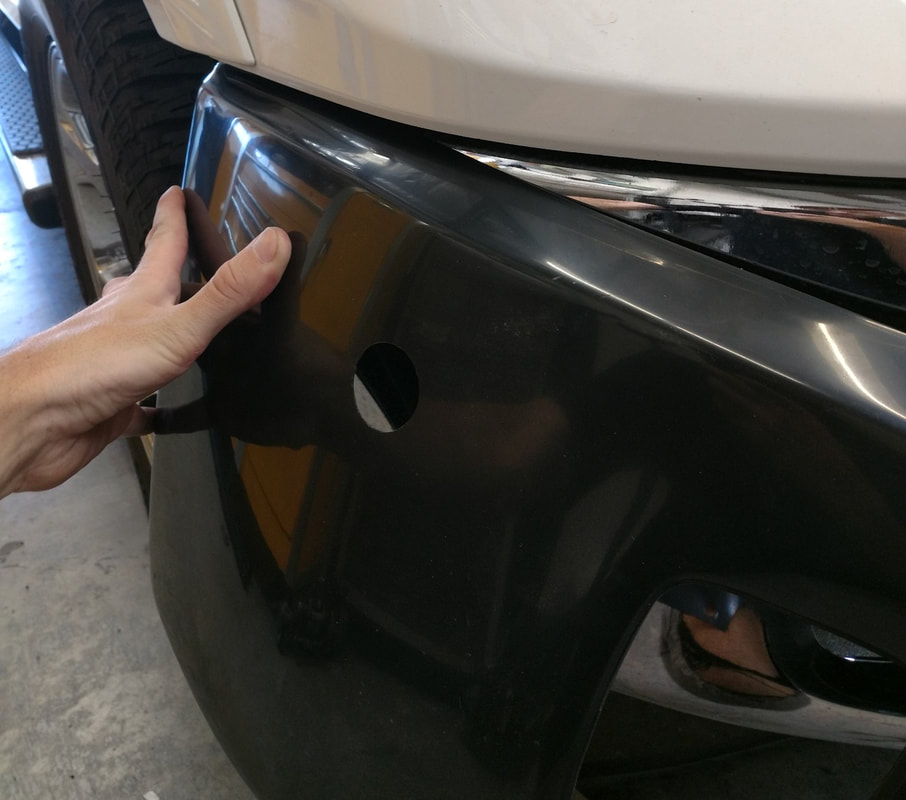
4. Begin with either Side Cover. Remove the red backing to the 3M tape. Insert the top corner under the upper body panel near the wheel well.
|
|
|
5. Continue tucking the top edge under the upper body panel, ensuring that the double-sided tape does not touch down on the bumper surface.
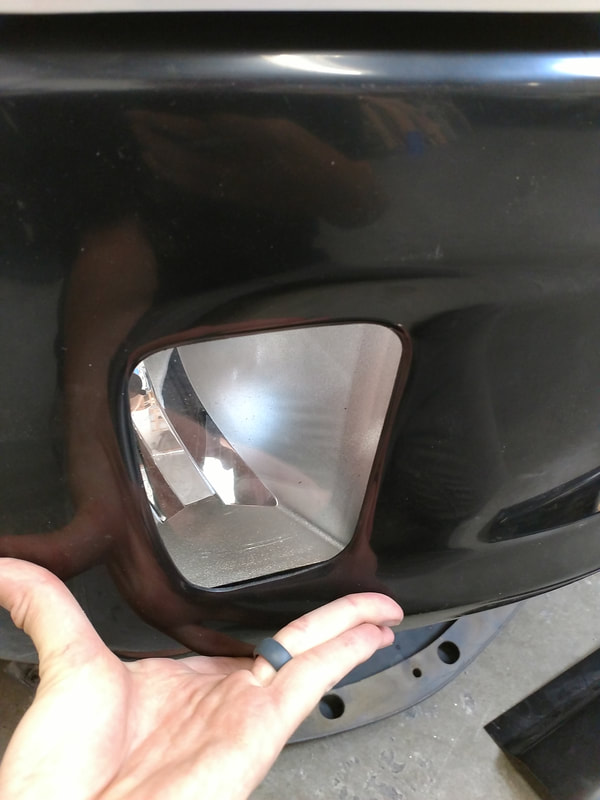
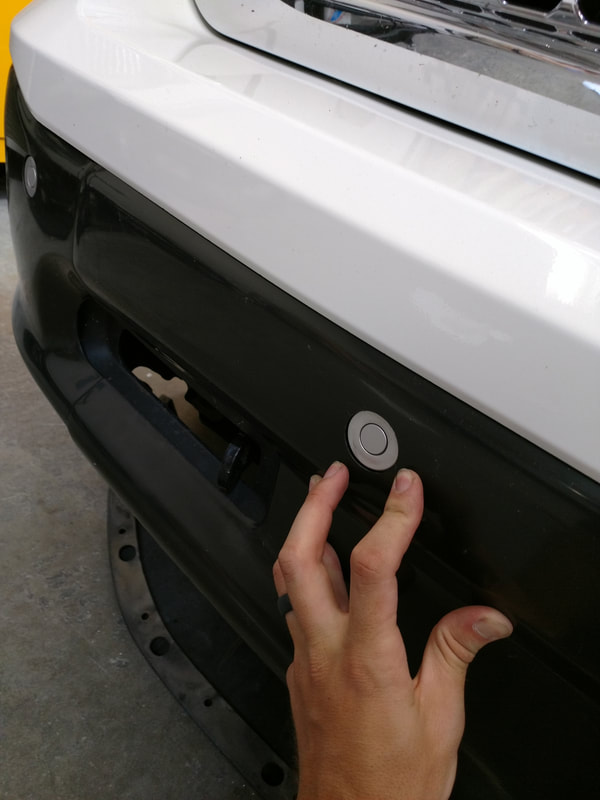
6. Before allowing the 3M Tape to touch down, visually check that the cover is properly positioned. Sensor holes and fog lamps (if present) should line up with the cut-outs in the BumperShellz.
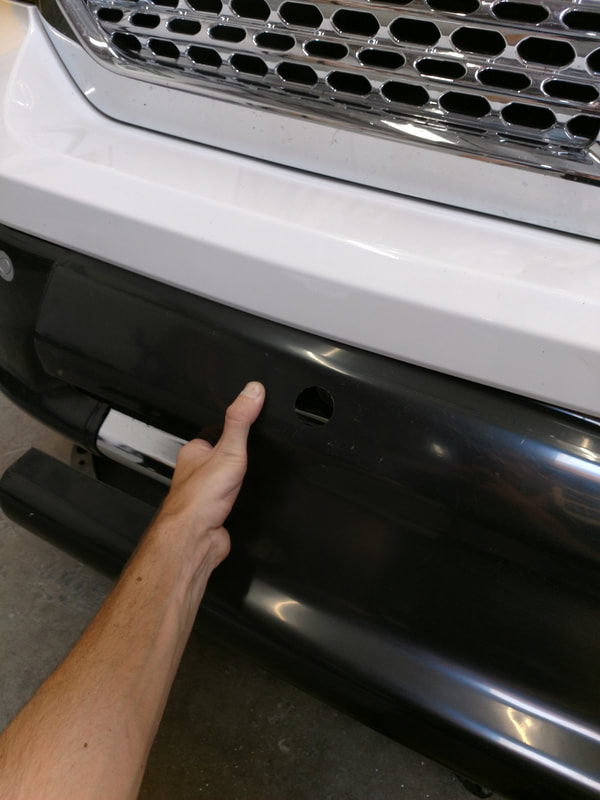
7. The holes on the underside corner of the Bumper Cover should also line up correctly, and clearances for the Bumper bolts should be correct.
|

|
|
|
8. When you are satisfied with the position of the cover, begin putting firm pressure on all areas of the cover. (Hint. Begin with the more sensitive areas such as the sensors and fog lamps).
9. Repeat process on opposite side cover.
10. Begin installing the center cover by slipping the top edge under the upper body panel. Ensure that the cover is centered and equally overlapping both side covers.
11. If sensors are present, make sure that these are lined up correctly with the pre-drilled sensor holes.
|
|
|
12. After you are satisfied with the fitment, put firm pressure on the center cover where the 3M tape is present.
13. Reinstall the lover valance. The lower valance should sandwich the BumperShellz between it and the bumper.
NOTE for Maximum Adhesion: The acrylic foam tape used to adhere your BumperShellz is “pressure sensitive”, so making sure there is sufficient pressure applied to each of the taped areas is vital to achieve optimum adhesion of your BumperShellz™ to your bumper. It is also recommended that you come back a few hours later, or the next day, to give each BumperShellz piece another pressure rub to ensure the best adhesion. Allow the tape adhesive to set up for at least 24 hours before washing your truck. Maximum adhesion is reached after 3-5 days in temperatures above 70 degrees, longer if it is cooler. Once the adhesive has fully bonded to a properly prepared bumper surface, it is nearly impossible to remove the BumperShellz without damaging them. Please refer to “removal instructions” in the BumperShellz FAQ section on the website, should removal be necessary.
Care for your BumperShellz™
Care for your BumperShellz™ like you would any fine paint finish. Use high quality cleaning products designed specifically for car care.
Gloss finishes: Oftentimes, minor scratches can be buffed out on the gloss finishes. Rubbing compounds can be used with a mechanical buffer, for deeper scratches.
Matte finishes are much more susceptible to abrasions, leaving a "glossy sheen" on the finish, which are generally permanent. Do not attempt to buff out scratches/abrasions on your matte finish, as this will generally make the damage worse. Avoid excessive friction when trying to remove anything stuck to the matte finish surface and keep cleaning rags/water clean and abrasive free. Abrasive brush-type car washes are not recommended, as they can abrade the Matte finish. Brushless car washes are acceptable.