Items Included• Side Covers:2
• Center Cover: 1 • Preinstalled 3m Tape • 2 Adhesion Promoter Packets |
Tools Required• Isopropyl Alcohol
• T-10 TORX bit • 9/32 socket/wrench • Trim tool or flat head • Plastic pry tools • Needle Nose Pliers |
Before You Get Started...

Warm surfaces and 3M tape with heat gun if ambient temperature is below 68 degrees F
|

Any Modification or unintended use will void the manufacturers warranty
|

A dry fit of all pieces must be performed before the final installation of the product to ensure fit
|

Products cannot be returned for a full refund after the red backing to the 3M tape is removed
|
Paint Preparation Instructions Link
If you ordered the "Paintable" version, click on the instructions link above for paint prep, and trim installation instructions.
Preparation
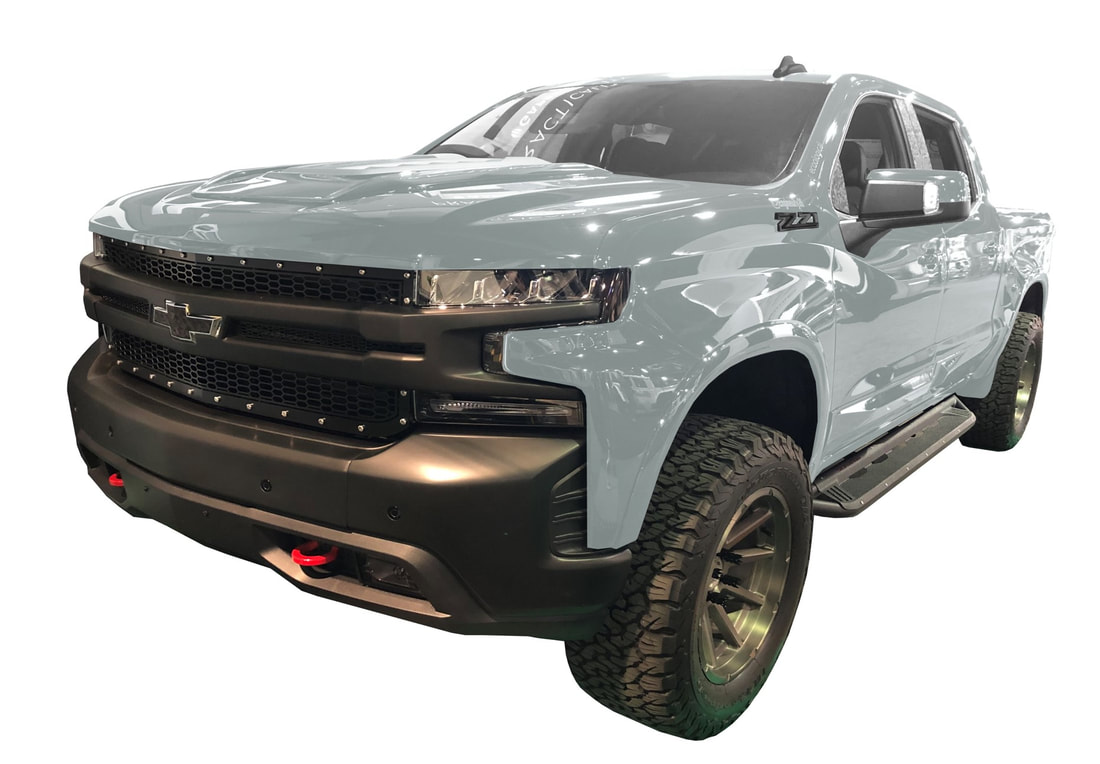
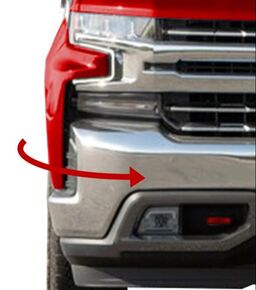
- If your bumper has any significant pre-existing dents, you may want to remove the bumper and try to pound some of these out. Small dings and rust can usually be directly covered by BumperShellz™ if trim lines between plastic trim/step pad and exposed steel bumper are in their original shape. A distorted bumper will negatively affect the fit of your BumperShellz™.
- BumperShellz™ are secured using the highest quality 3M Auto-Grade tape. The optimal temperature for installation is between 68°F and 100°F. If the ambient temperature is below 68°F use a heat gun or hair dryer to warm the bumper and 3M tape immediately prior to installation.
- Ensure the bumper is clean. After a quick wash, use Isopropyl alcohol or Acetone with a brand new, lint-free cloth to thoroughly clean the bumper. For professional results, use 3M brand prep solvent 70, Adhesion Promoter 94, or a similar vinyl adhesion promoter product available at many auto stores.
- It is critical to “Dry Fit” all parts before removing 3M tape to check for fitment and practice the installation method before the attachment is permanent. After the part is permanently installed, it will be much more difficult to make small alterations if needed, and the product cannot be returned for a complete refund.
The degree to which you follow these preparation instructions will determine the quality of the installed product. Please follow all instructions and be patient. If you are unsure of any area of the installation after reading these instructions, please call us at 844-918-3688, and we will answer any questions that you have.
Installation
|
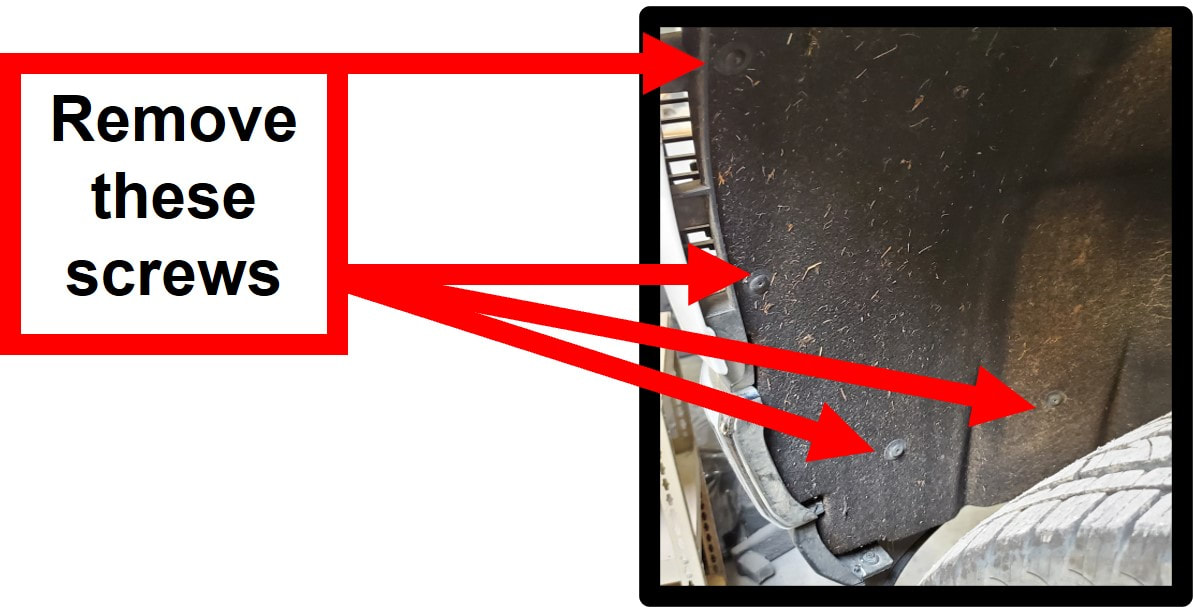
1. Remove at least the recommended 4 fender liner screws using T-10 bit with socket wrench. (Hint: turn wheels or jack up front end of truck to make the fender liner screws easier to access) |
|
|
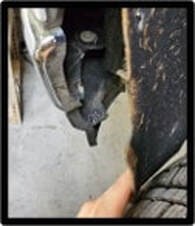
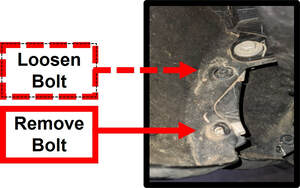
2. Bend the Fender Liner out slightly to gain access to two of the lower valance bumper bolts. Remove the first bolt and loosen the second bolt a few turns with a 9/32 socket. |
|
|
3. Repeat steps 1-2 on the opposite side.
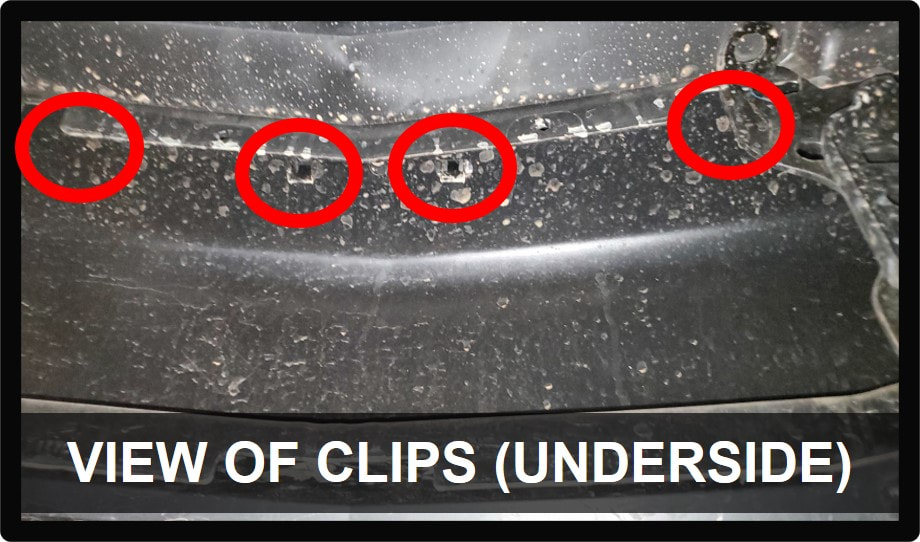
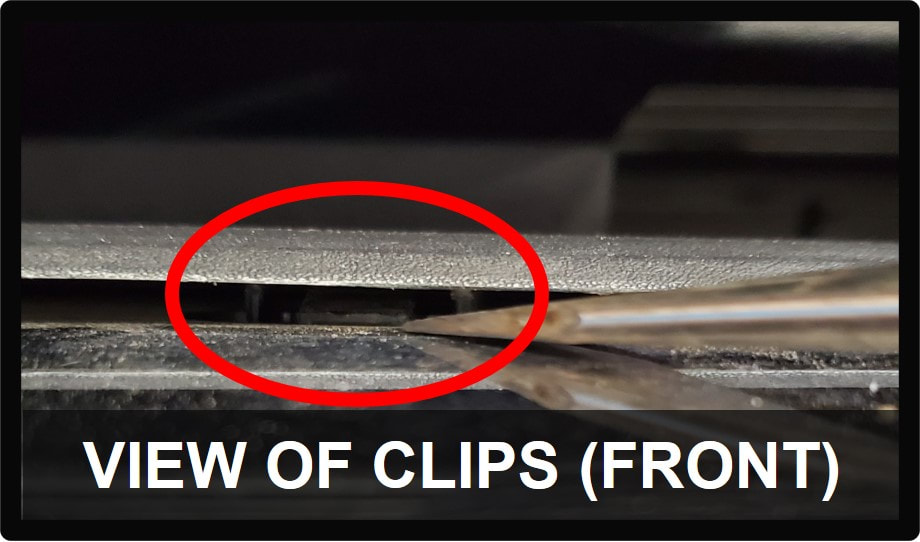
6. Loosen/remove the plastic trim on the top of the center portion of the bumper. You can access the pinch clips by going under the truck and reaching up to the backside of the center bumper. In areas where this is difficult, you may also use a plastic pry tool and flat head to carefully trigger the pin of the pinch clip from the front. The two pinch clips on the extreme ends of the trim piece are difficult to access and may be left on. If these clips are left on, the trim piece will not be able to be completely removed, but the install can still be completed without completely removing this piece if necessary.
|
|
6. Begin performing your dry fit by completing the following steps without removing the red backing to the 3M tape. If you have a protective film preinstalled, you may wish to leave this on your BumperShellz during this portion and then remove it during your final install.
7. Ensure the bumper is clean and free of debris. Use Isopropyl rubbing alcohol to free the bumper surface of any chemicals or soap residue that may limit the effectiveness of the 3M tape. Wipe the adhesion promoter towel along all areas of the bumper where the 3M tape will be contacting.
|
8. Install outer pieces first. Peel off the red backing to the 3M tape. Wrap the front side cover around the corner of the bumper starting with the corner by the wheel well and moving toward the center of the bumper. You will need to slip the bottom flange with the screw hole in between the bottom of the bumper and the lower plastic valance. The clearance hole in the BumperShellz should line up with the hole where you removed the lower valance bumper bolt you removed in STEP 2. The parking sensor (if available) should be centered within the clearance hole in the BumperShellz. Be sure to not put pressure on the 3M tape areas before you are satisfied with its position. When you are satisfied, push firmly on all areas of the bumper cover where the 3M tape is present. |
|
IF THE TOP CENTER PLASTIC TRIM WAS NOT COMPLETELY REMOVED IN STEP 6
Use your plastic pry tool to pry up the edge of the plastic trim enough to slip the top flange of the BumperShellz underneath the edge of the of the plastic trim.
|
9. (DO THIS STEP DURING YOUR DRY FIT BEFORE REMOVING BACKING TO 3M TAPE)
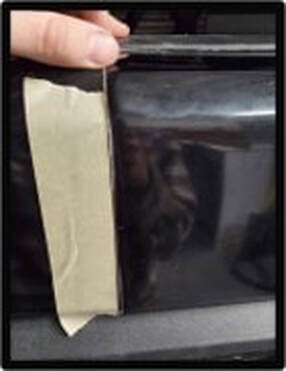
Install the center cover of the front BumperShellz set. It should overlap the side covers by ½”- ¼” on each side. Shift it around until it is sufficiently centered. When you are satisfied with its position. Use masking tape on the side covers or lower valance so you can refence this position when you are installing after the back to the 3M tape has been removed. 10. Remove the back to the 3M tape. Install the cover ensuring style lines and sensors are aligned correctly. Use your tape marks to be sure the product is centered on bumper. Once you are satisfied with its position, press firmly on all areas of the bumper cover where 3M tape is present.
|
|
11. All the sections of the BumperShellz should now be fully installed. Put firm pressure once again on all areas where the 3M tape is contacting the bumper to ensure proper adhesion.
12. Reinstall the top plastic trim pad you removed in STEP 5. Give it a few firm taps to ensure that the clips re-seat.
14. Finally, replace and tighten the lower valance bumper bolts you removed and loosened in STEP 2, and reinstall the fender liner screws.
15. If possible, wait at least 48 hours before engaging in highway driving, or using automated car washes. Reapply pressure to all taped areas 24 hours after initial installation
Care for your BumperShellz™
Care for your BumperShellz™ like you would any fine paint finish. Use high quality cleaning products designed specifically for car care.
Gloss finishes: Oftentimes, minor scratches can be buffed out on the gloss finishes. Rubbing compounds can be used with a mechanical buffer, for deeper scratches.
Matte finishes are much more susceptible to abrasions, leaving a "glossy sheen" on the finish, which are generally permanent. Do not attempt to buff out scratches/abrasions on your matte finish, as this will generally make the damage worse. Avoid excessive friction when trying to remove anything stuck to the matte finish surface and keep cleaning rags/water clean and abrasive free. Abrasive brush-type car washes are not recommended, as they can abrade the Matte finish. Brushless car washes are acceptable.